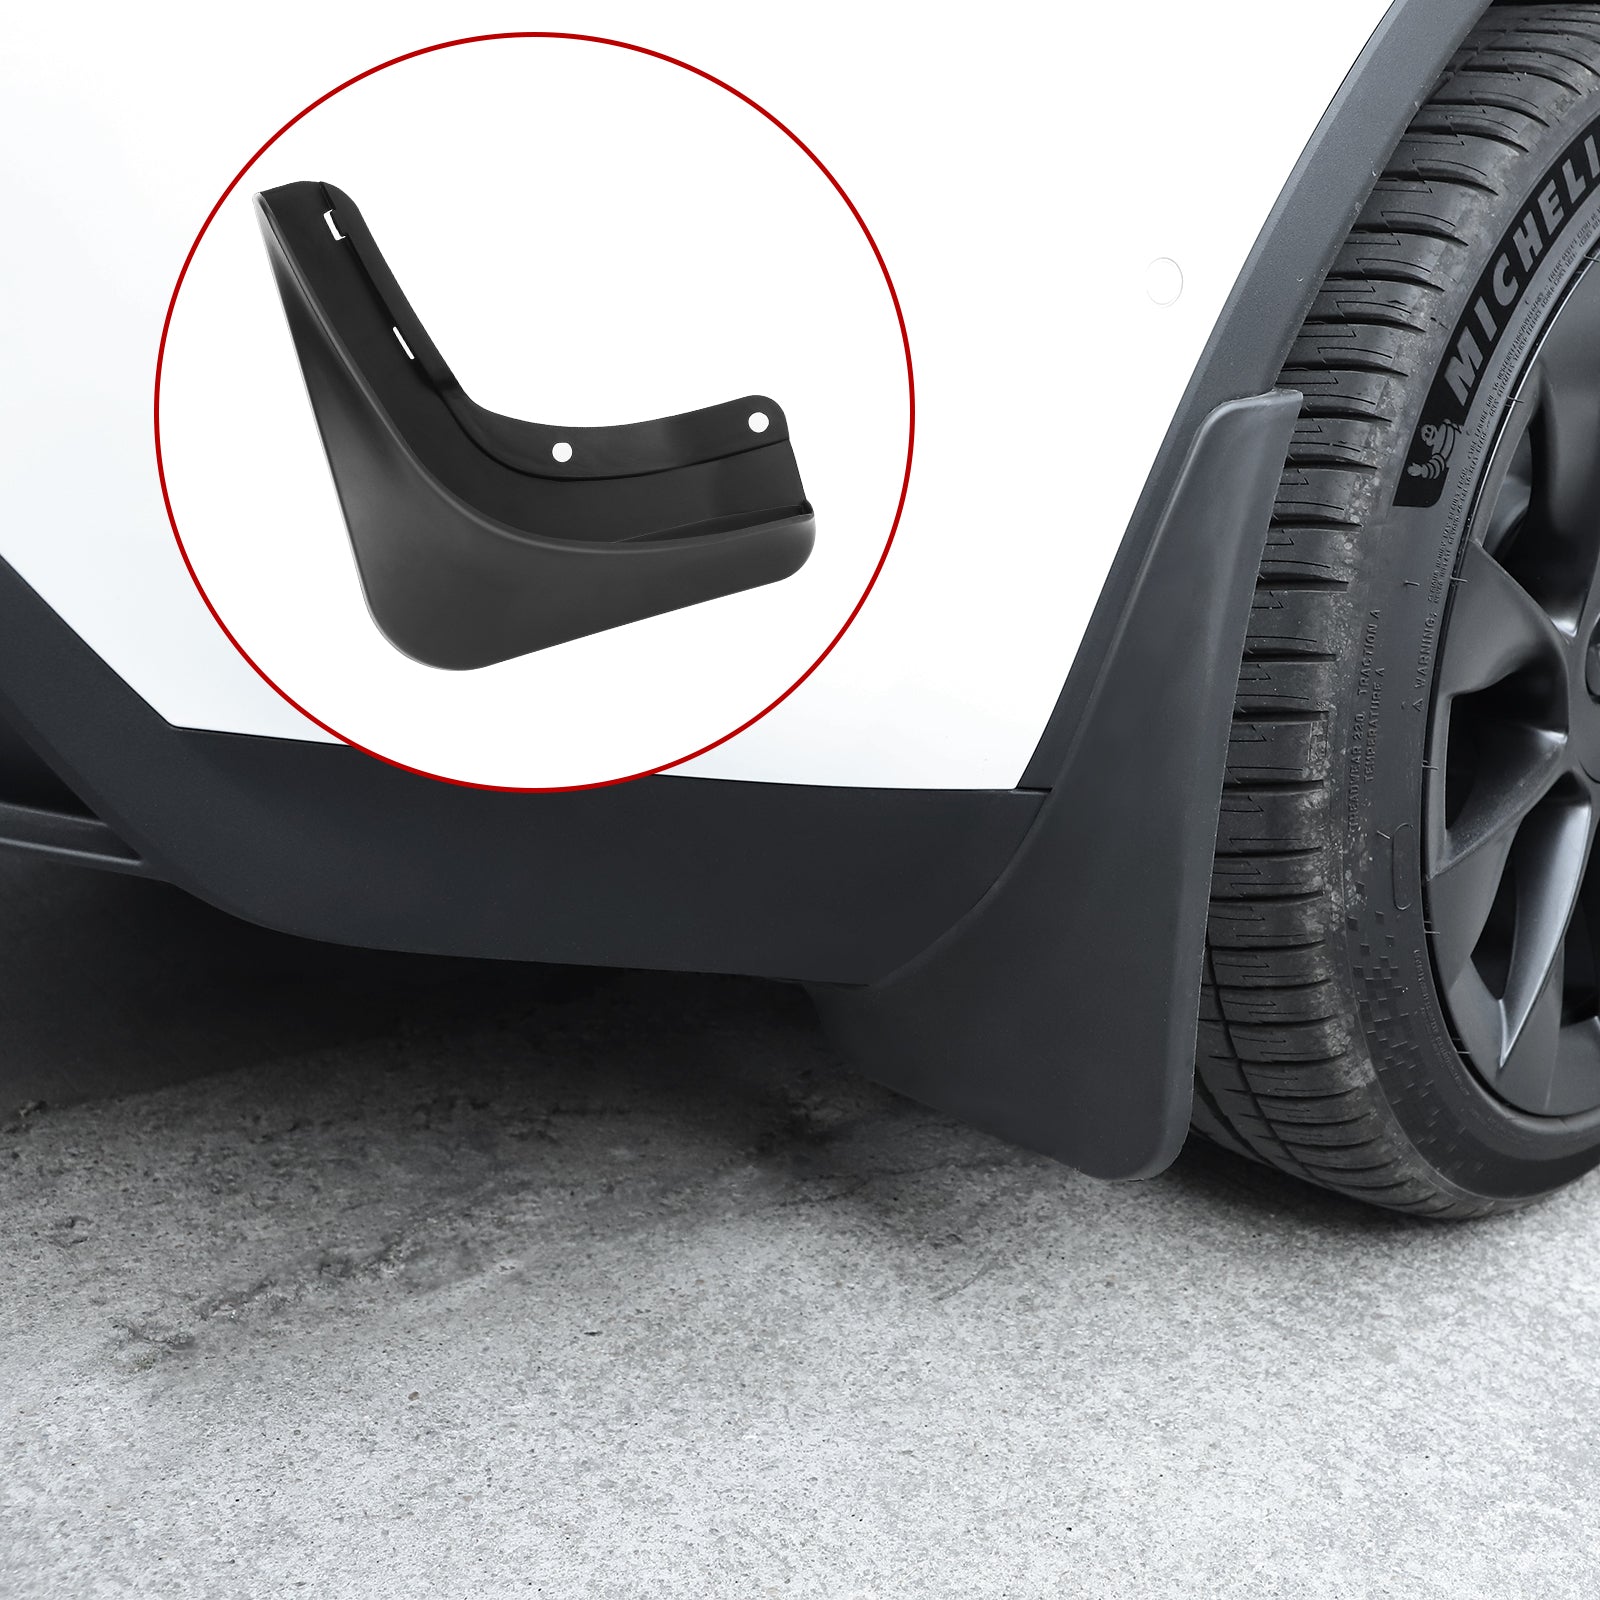
Description
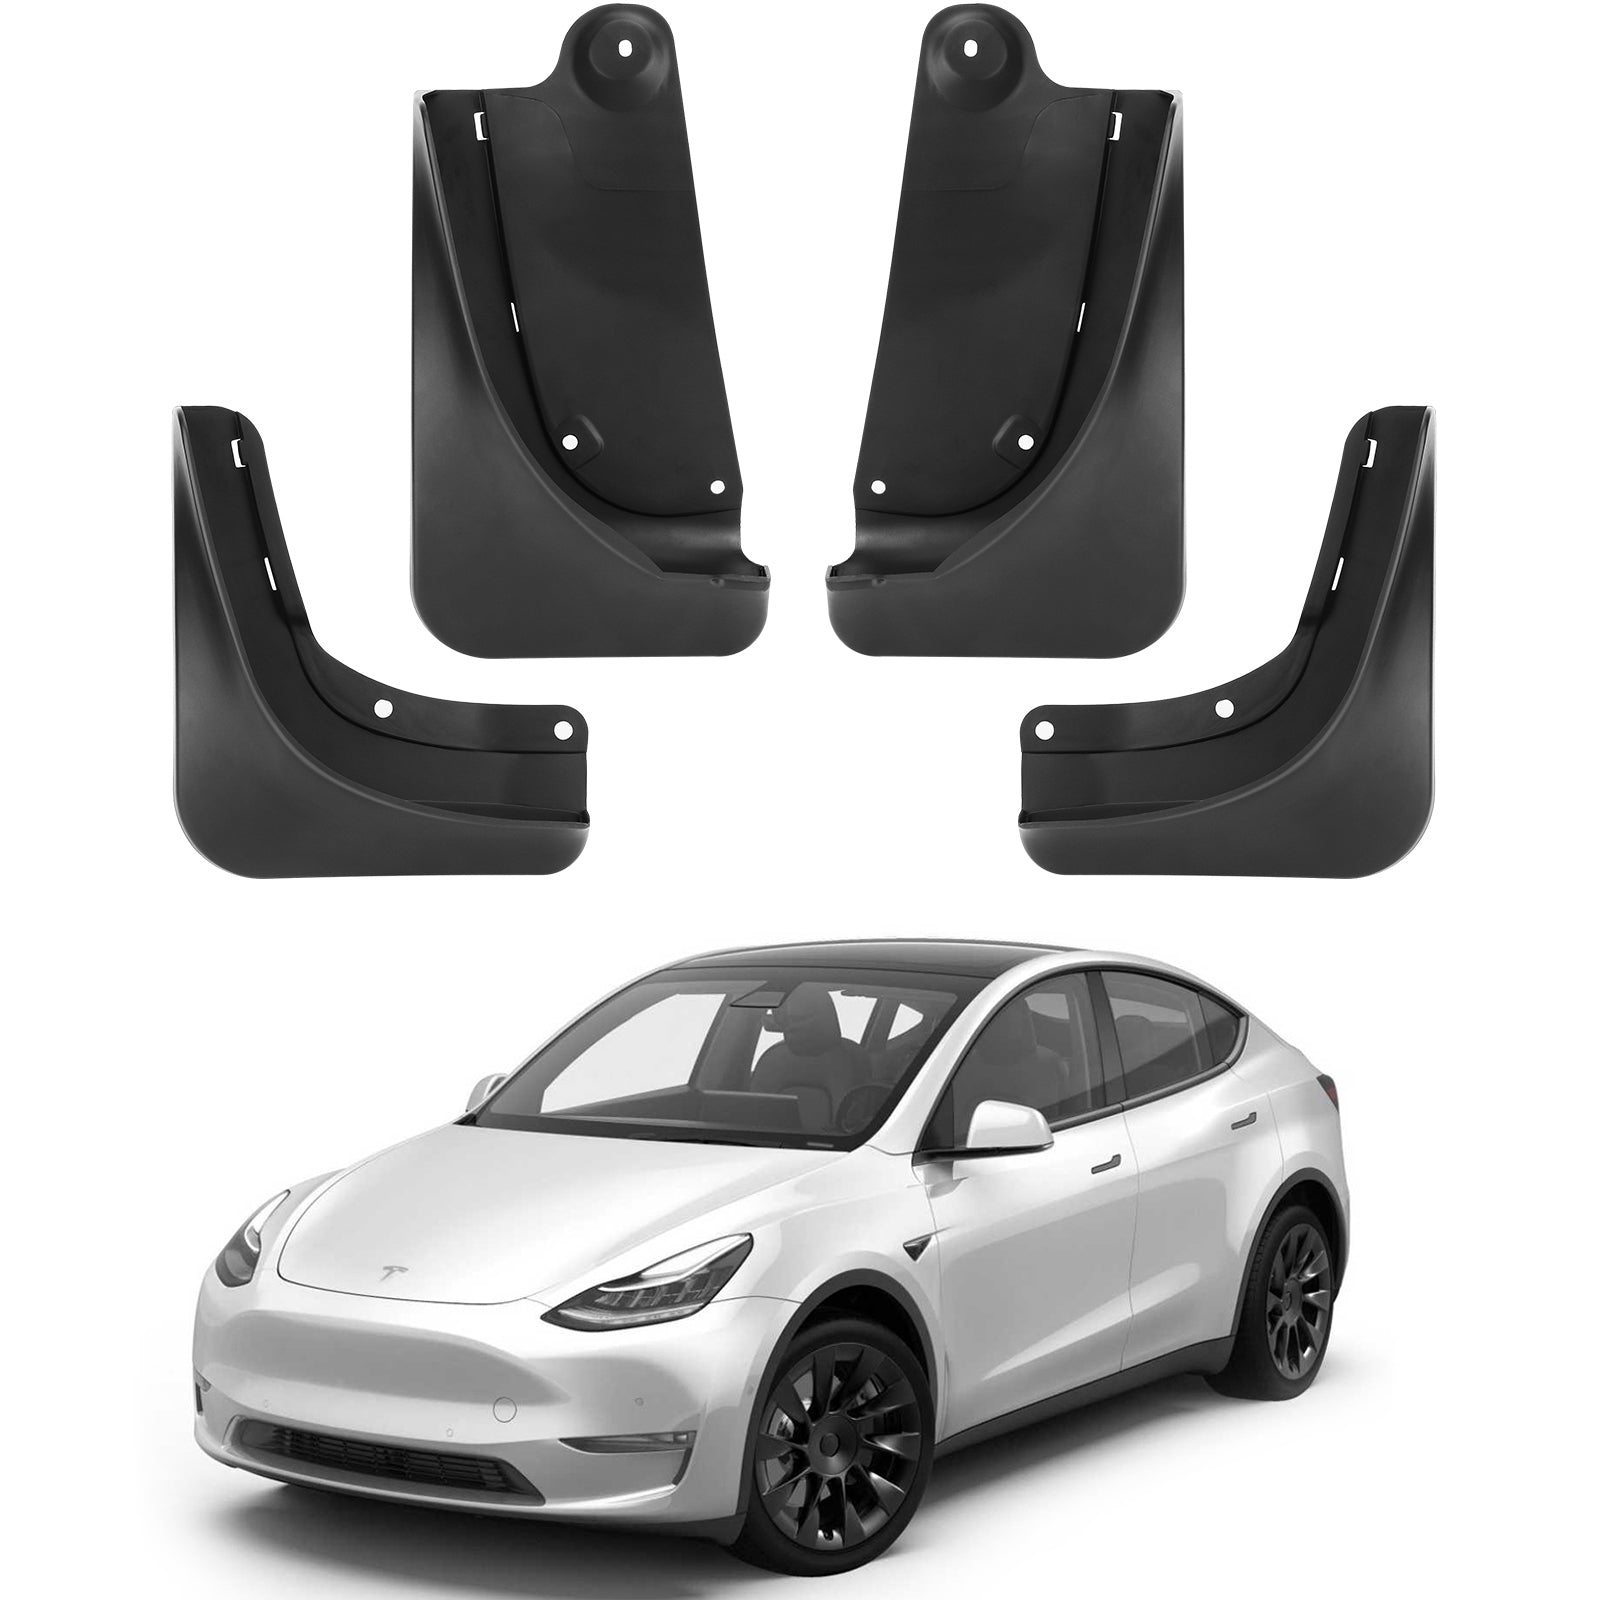
- Custom-designed(Patent Design): Our patented mud flaps with bigger protection range than others. Fit all Tesla Model Y Vehicles 2023 2022 2021 2020.(Note: The mudguard is installed at the rear of the tire)
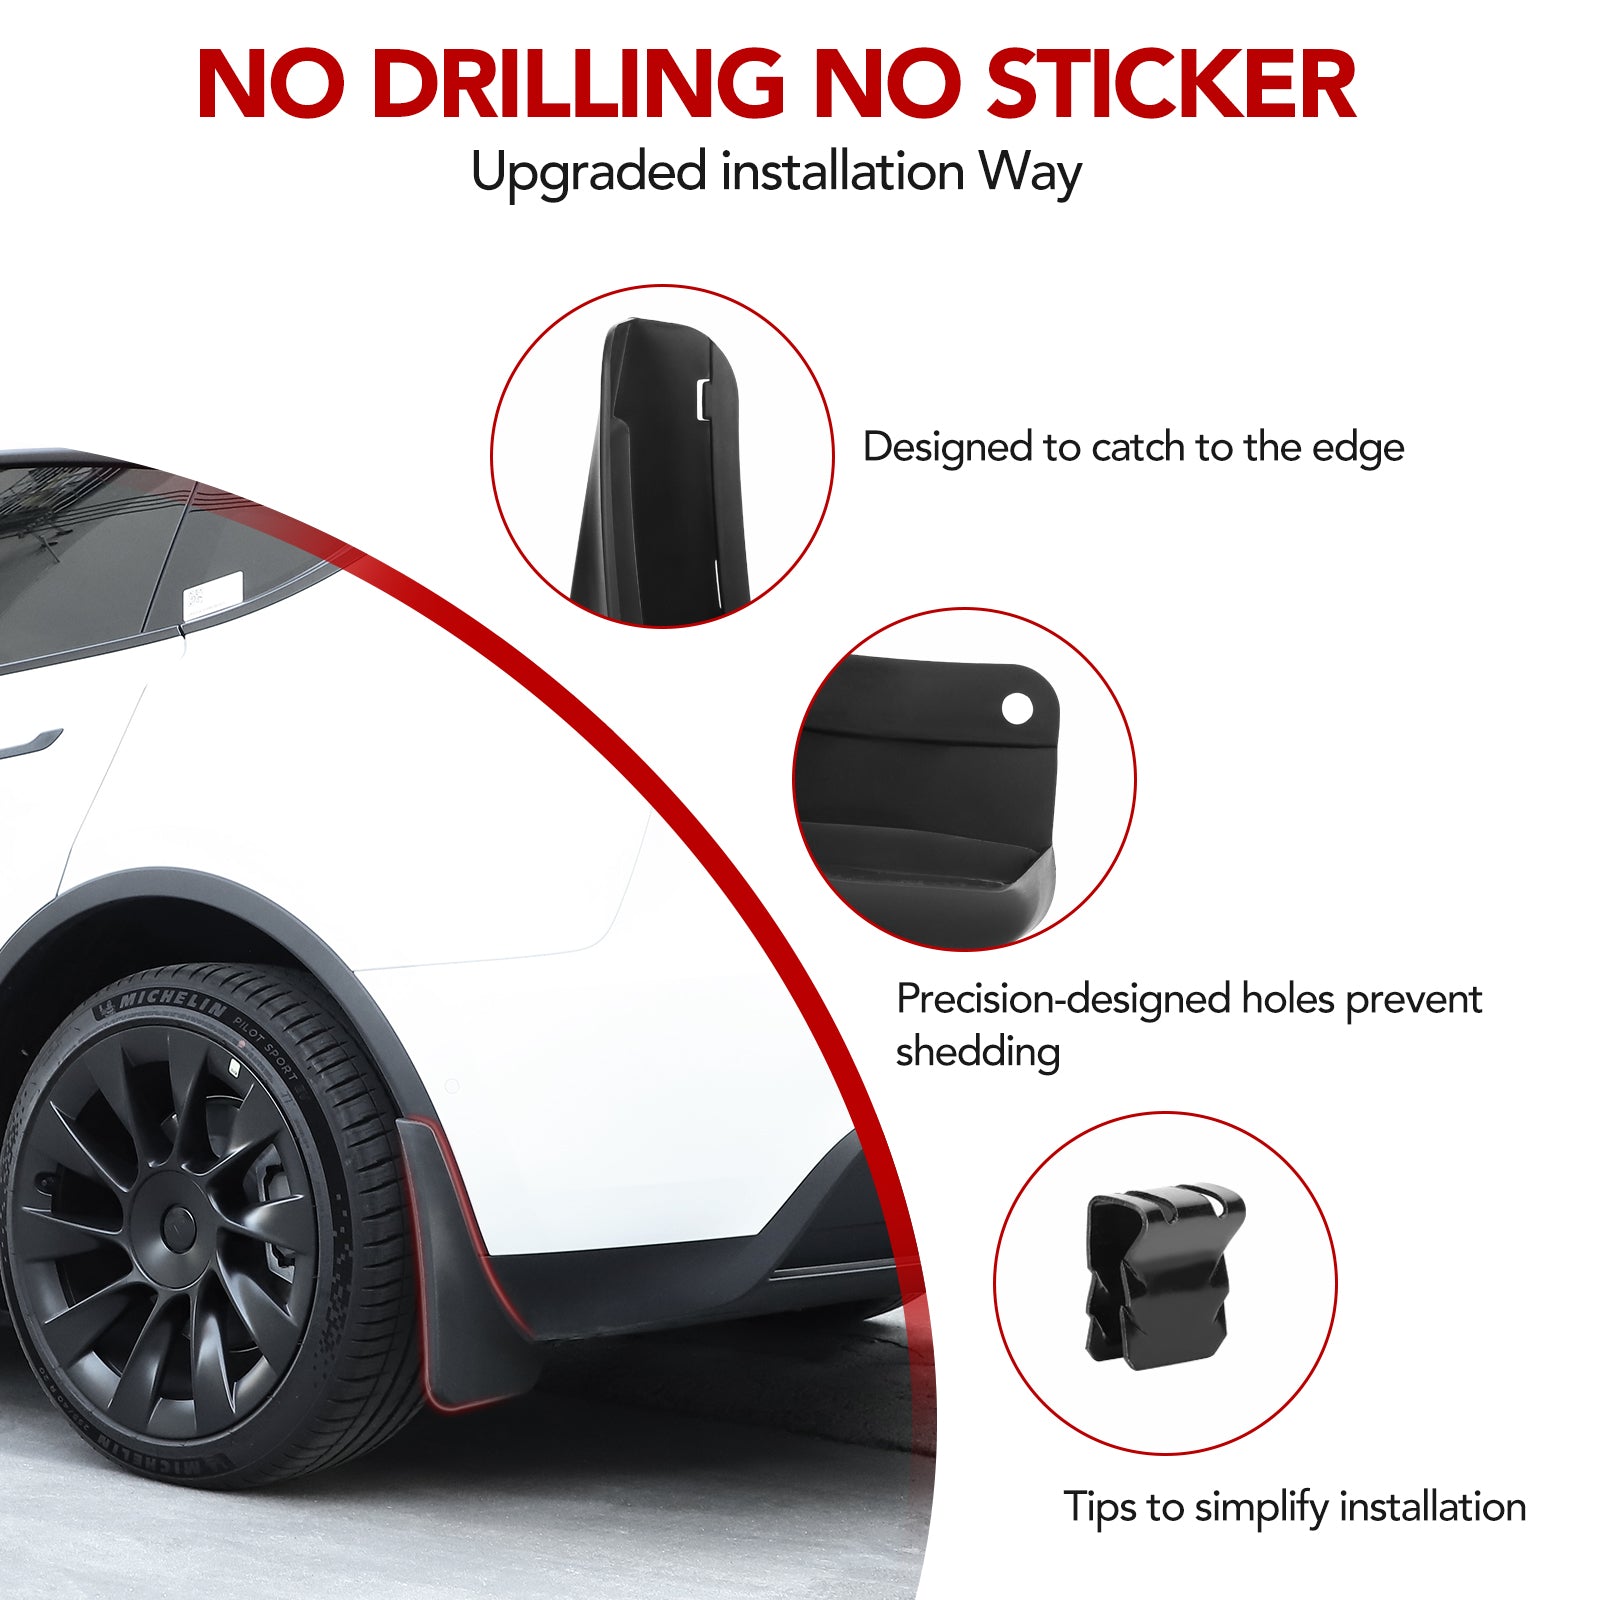
- No Drilling and Tape Required: Custom-made mudguards for model Y. Install in the original hole position. No Need to Drill Holes and double tape. Safe and Easy to install.
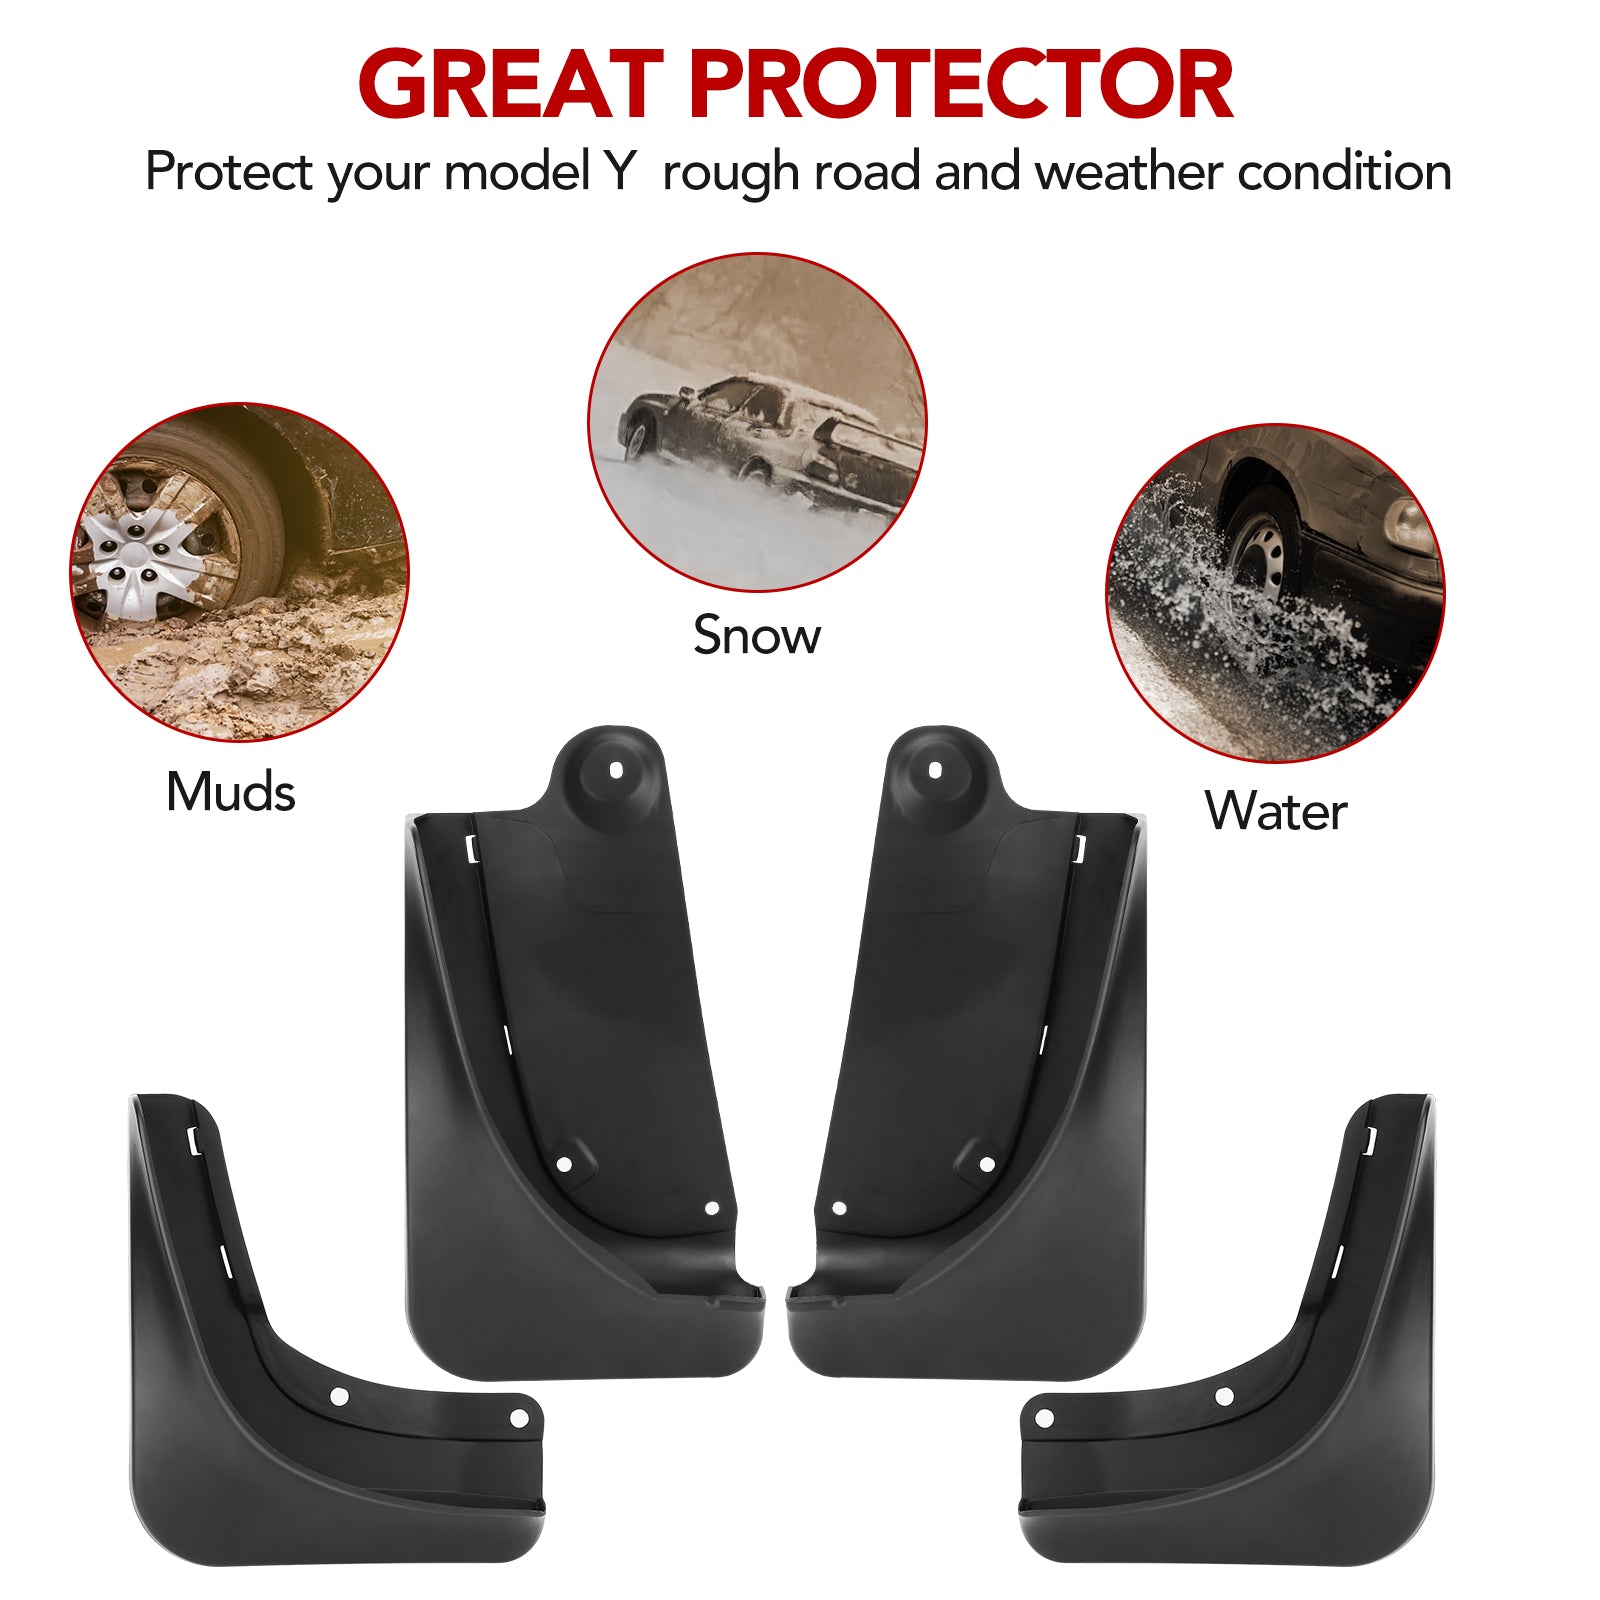
- Great Protector: The Mud Flaps protect the lower portions of your Model Y from snow, salt, sand, rocks, and other debris your wheels throw around.
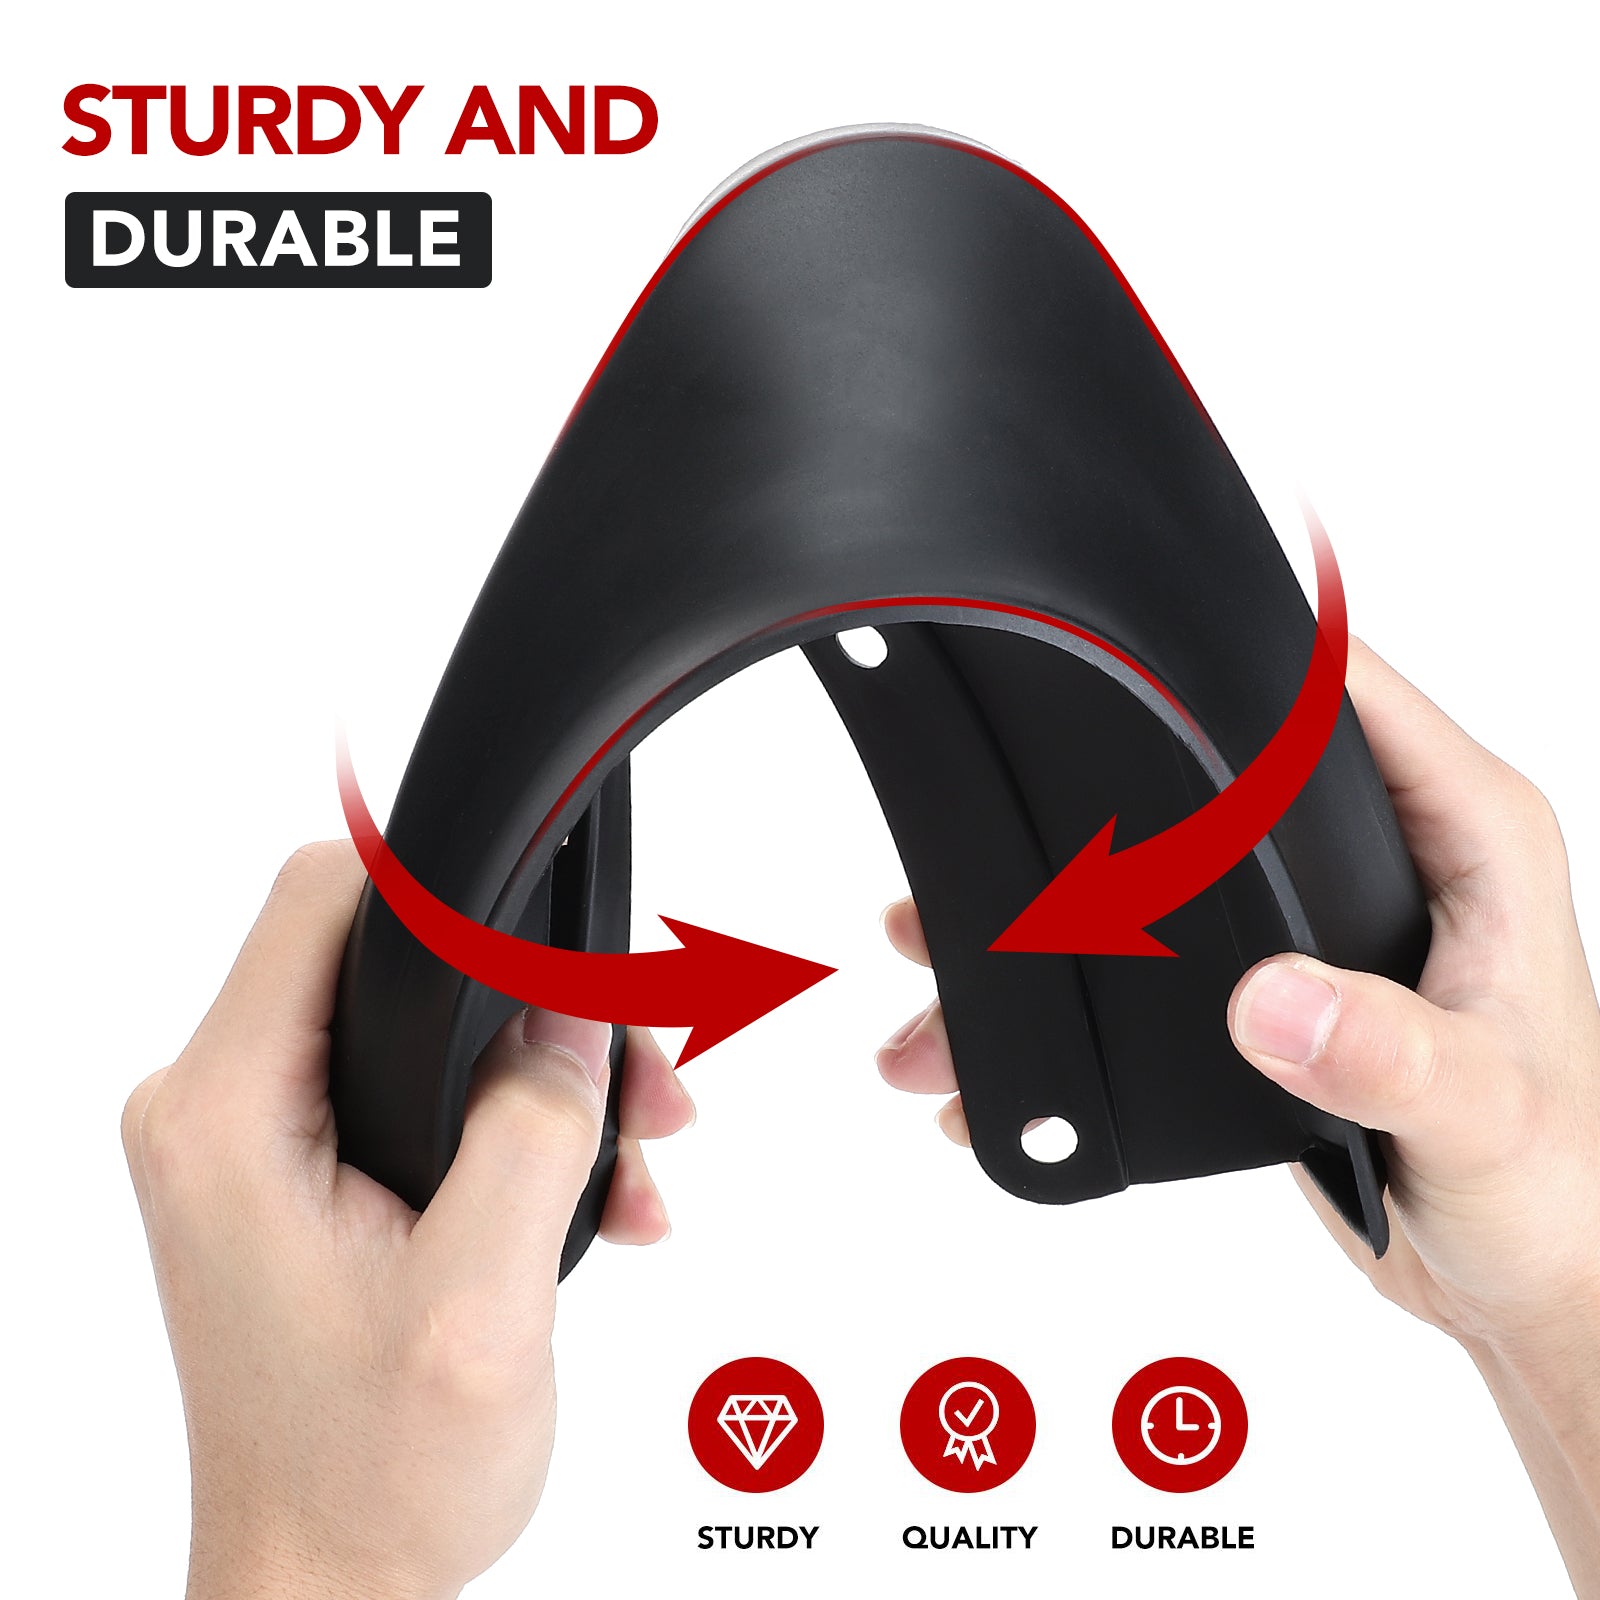
- Strong Material: Made of strong ABS thermoplastic material. Work safely in all harsh environments. Sturdy and durable.
- Essential Accessories: Great Accessories for your Tesla Model Y. Perfect for keeping your model Y clean from dist and grim.
Payment & Security
Your payment information is processed securely. We do not store credit card details nor have access to your credit card information.
You may also like
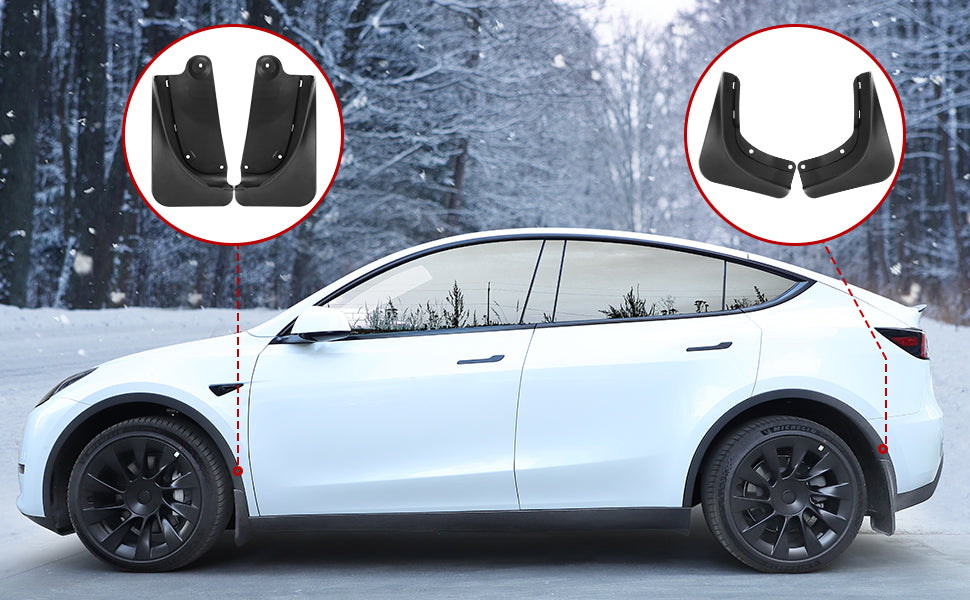

Protect the lower portions of your Model Y from snow, salt, sand, rocks and other debris your wheels throw around.

Custom made mud guards for model Y. Install in the original hole position. Easy to install.


Tesla Model Y Mud Flaps Splash Guards
FAQ
Why did I receive a package without clips ?
Do not worry, the receipt of goods missing accessories, please inform us in a timely manner, to confirm the missing parts we will immediately send you free new accessories, the next we will also update the packaging, each fender placed two bags of accessories, no longer have to worry about the lack of accessories.
Why can't the position of the mudguard hole be aligned with the original car?
Our installation instructions have marked the installation position of the mudguard. The correct installation position is the rear of the tire. Aligning according to the correct position is good for installation.
Why is it so difficult for the screw to enter the hole when I install it?
This is because the screw installation steps are wrong. First align the fenders in the correct position, then put the screws into the nuts, put the screws and nuts into the holes together, and press the screws firmly.

